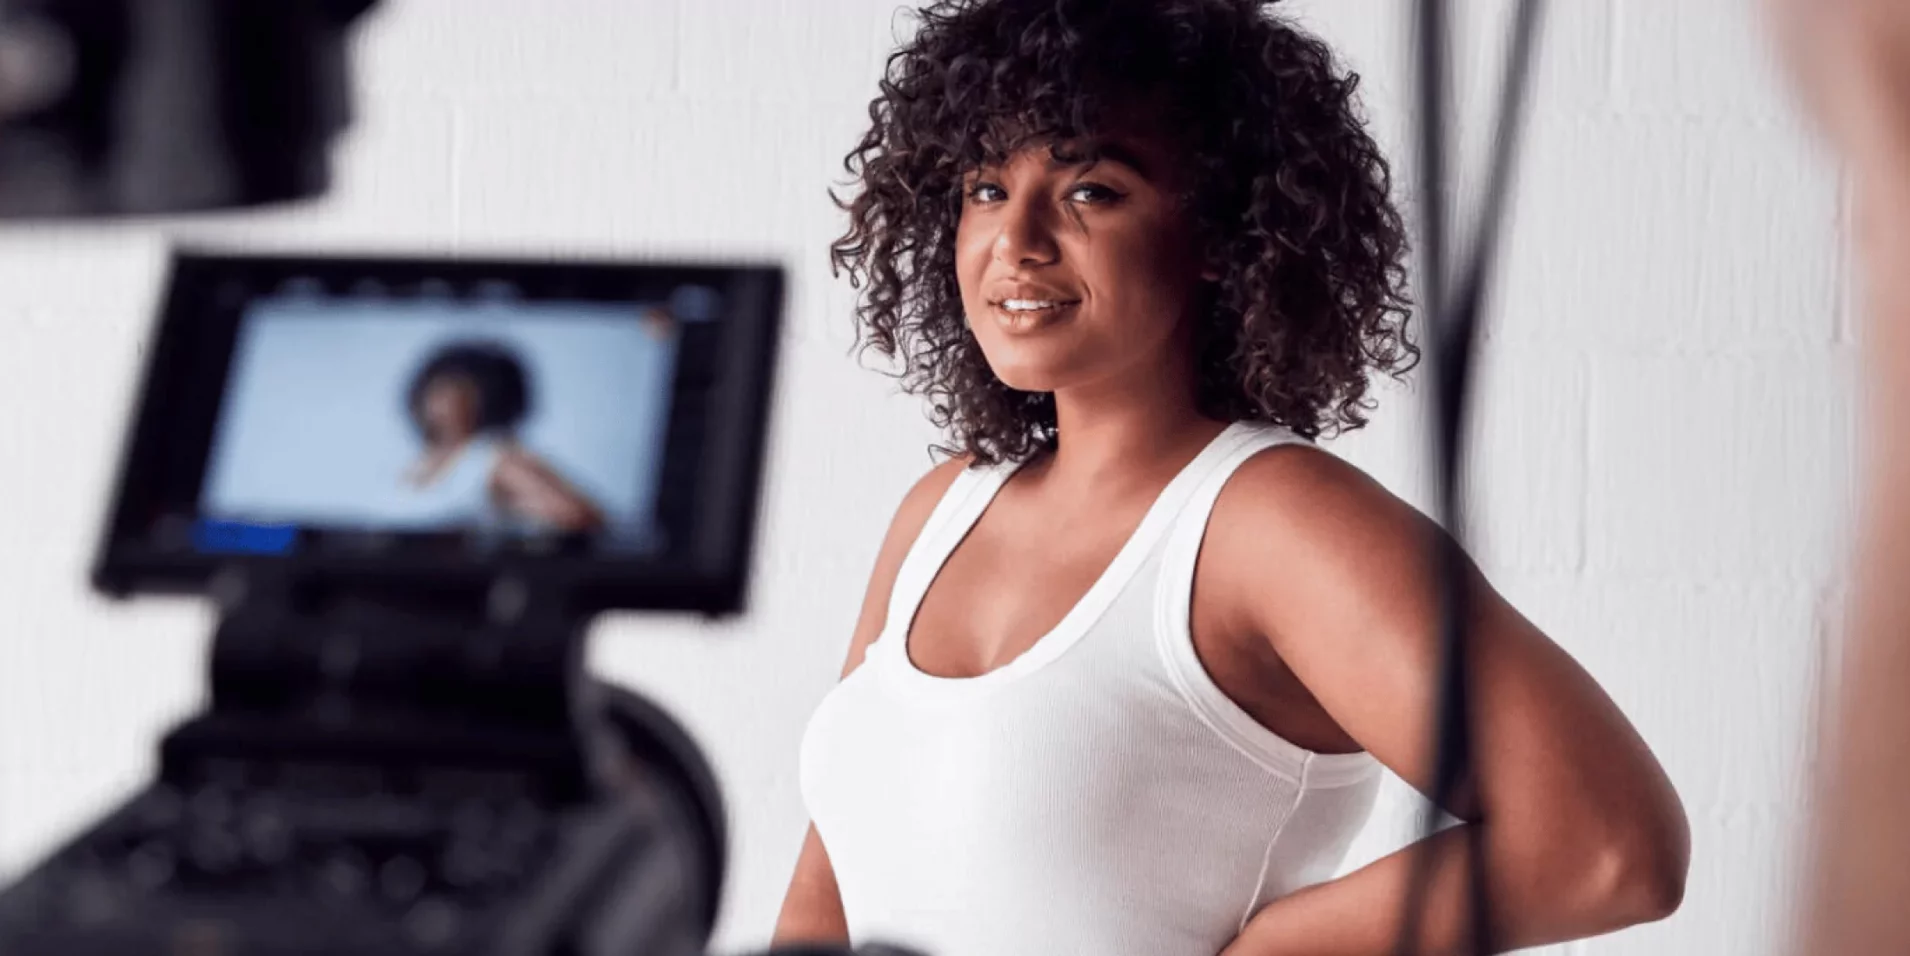
How To Build Your Own Ecommerce Retouching/Photography Studio In 2024 – Step-By-Step Guide?
Are you starting a new retail venture or upgrading an existing Ecommerce setup? Or are you already an established big box brand?
If you are into Ecommerce business, you are a part of production already and proficient photo retouching and photography studio are crucial aspects for you to drive sales. But what do you need to streamline your photo production workflow?
You need all-inclusive preparation, a ready-to-start workspace, simple processes, transferring systems and a lot more. Let us dig deeper about “How to build your own Ecommerce Retouching/photography studio in 2024” and discuss this step-by-step guide.

STEP 1 - Planning & Space Allocation
The first step is to plan, organize and check the space requirements. Organizing is the key to maximize the productivity of your organization. To get started, you need to catalog all your products and segregate them as per category, color, size, name, associated tags and any other identification info.
Then you need to check the space requirements to accommodate your inventory, shooting setups, photo retouching stations, equipment storage space, and sufficient workspace for your team. Finally, the most important part, you need to choose a space with controlled lighting conditions and minimal external noise.
STEP 2 - Essential Equipment and Tools
After you have organized and your work area is ready to set up, you need to prepare the right equipment and tools.
- Camera: The first on the list is Camera. You should always invest in a high-resolution DSLR or mirrorless camera with interchangeable lenses that are best suited for product photography. For basic product photography Camera are Phase One, Sony, Canon, Nikon is a very good choice.
- Lense: If you pay more for a lens, the lens will have a high-quality glass and internal structure. You can choose prime lenses with a wide aperture for sharpness and versatility in capturing product details. If you are opting for a zoom lense , it will allow you to choose between a range of focal lengths.
- Lighting Setup & Backdrop: You can use a combination of softboxes, strobes, reflectors, and diffusers to get balanced lighting. It also removes harsh shadows. Neutral backdrops in white and grey complement the product photography without overshadowing it.
- Image Capturing Software: An image capturing software can smoothen the process of capturing your images and it comes with additional benefits, as well. It allows you to shoot with your camera “tethered” to your system and automatically uploads the photos captured into a designated folder. Adobe Lightroom is a wonderful software, available at an affordable price, and is also the best entry point for new product photographers. If you want to go a step higher from Adobe Lightroom, then Phase One’s Capture One Pro is a great choice.

STEP 3 - Studio Setup and Workflow
For Ecommerce products, be it clothing, gadgets, make-up products or even furniture, photos should look clean, simple and consistent. And the best way to do this is to build your own studio setup and customize it, as per your needs.
- Studio Workspace: To set up your own studio and shooting area, you will need white seamless paper roll, your products, camera and tripod foam board to fill light, gaffer’s tape and window light. You can have a dedicated shooting area with adjustable tables or platforms for different product sizes. If it is easily customizable for various shooting angles and setups, it will come in handy for your different photography needs. Also, make sure you accident-proof your studio workspace by coiling the cords and using velcro, zip ties, sandbags and clamps to make it an accident free zone.
- Retouching Station: You need ergonomic workstations with a good amount of desk space, comfortable seating, and organized storage for efficient workflow during post-production and high-quality colorized photo editing.
- Backup and Storage: Make sure you invest a good amount in establishing a reliable backup system for storing raw and edited images securely. You can also consider cloud storage options for accessibility and redundancy.
STEP 4 - Streamlining Operations
Streamlining operations is a critical strategy for businesses aiming to enhance efficiency, reduce costs, and improve overall productivity. This process involves analyzing and refining workflows to eliminate unnecessary steps, optimize resources, and ensure that all activities contribute directly to organizational goals. Here are key aspects of streamlining operations:
- Post-Production Processing: Once you have captured your product images, you need to transfer them to your computer, delete the unwanted ones from the catalog, and save the files. With a streamlined process in place, you can begin post-production processing and make your product images look professional, clean and attractive.
- Workflow Optimization: You should implement standardized workflows and checklists to ensure that you have consistent image quality and efficient project management.
Building your own Ecommerce Retouching/photography studio is a lot of work and that’s why most of the big fashion retailers outsource the majority of their photography and post-production work to renowned photo studios and retouching partners like Mubytech.
But if you are doing everything yourself and there is less breathing room in your budget, you can always follow this step-by-step guide to set up your retouching/photography studio and get professional product images.
By MubyTech
Global Image Editing Partner
Global Image Editing Partner